Building a Plug
The approach I settled on was to build a plug, fiberglass over the whole thing, and then cut the tank into two pieces to remove the plug. I started by buying foam insulation at a local big-box hardware store.
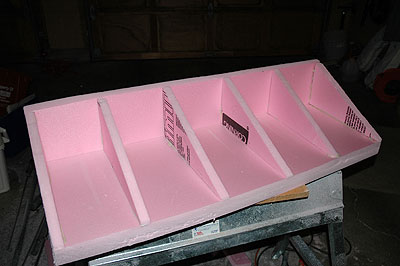
I made a set of cardboard templates at several "stations". These templates matched the outside dimensions of the finished tank. I then subtracted the thickness of the outside foam and the the thickness of the fiberglass to get the shapes of the ribs.
Next time, I wouldn't do this. It took WAY too long, Instead, I would buy enough foam to make a completely solid plug. The plug could be made by building it up bit-by-bit from vertically oriented layers of foam (same orientation as the ribs shown here, but without any space in betwen). You can match any complex shape with this approach, and you don't need to make templates. Simply cut each piece to shape on the boat and glue it to the last piece you cut until the volume is filled.
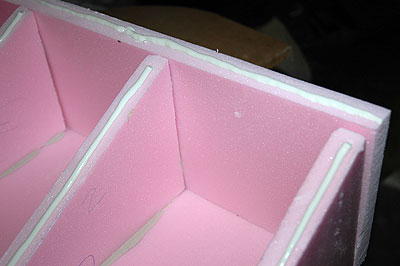
Everything was Glued Together
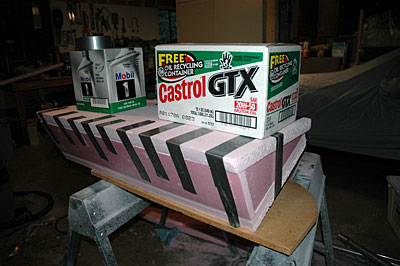
Adding the bottom
There's no easy way to clamp the bottom. Here you can see I used duct tape and weight to hold the bottom to the rest of the plug while the glue dried. The bottom is slightly curved to match the hull.
After the tape was removed, I used a Surform tool to round the edges to help prevent stress cracks in the fiberglass.